I have dinner with friends about every two weeks. I wanted to bring something this time, but I was not the assigned cook. My plan was blueberry biscuits, similar to my strawberry biscuits. However, it turned into coffeecake in my travels :-)
Blueberry Coffeecake/Biscuits (if you don't put them too close together)
2 tablespoons light sour cream (or greek yogurt)
1/4 cup milk (I used vanilla almond milk)
1/4 teaspoon orange extract
1/2 cup Bisquick (I used heart healthy)
2 tablespoons sugar
1/4 teaspoon nutmeg
1/4 cup fresh or frozen blueberries (or some more, depending on how blueberry-y you want it)
melted butter for brushing the top of the biscuit
1 tablespoon sugar for top
First, preheat the oven to 375 degrees Fahrenheit (unless you are travelling with them like me) and spray a pan. I used a little casserole dish (hence the coffeecake), but I usually use a sheet pan to facilitate biscuits better.
Mix the light sour cream, milk, and orange extract together. I used a little less milk to begin with (about half, because I added the sour cream), but that was too dry. I estimated the rest.
Add the dry ingredients. Don't overmix.
Fold in the blueberries.
Drop on your prepared pan. If I successfully make biscuits and not coffeecake, I shape them a little more. I was in a hurry, though.
Brush the tops with the melted butter and sprinkle with sugar. I was a little butter crazy. Also, I should have known this would not turn into biscuits.
Bake for 8-10 minutes. It will take longer as a coffeecake :-)
We ate all of this. Really that isn't too bad, calorie wise. Still, I think that is a sign that this was good.
Monday, April 13, 2015
Sunday, April 5, 2015
Light(er) Carrot Cake with Cinnamon Cream Cheese Frosting
I went to a friend's house for Easter dinner. While I agreed to bring deviled eggs, I felt like bringing dessert, too. Dessert is fun (not that the eggs weren't).
I had some carrots, so I decided to make a carrot cake. It seems like the perfect spring dessert. However, it is generally horrible for us :-( I tried to make it a LITTLE better.
Carrot Cake
1 cup flour
3/4 cup sugar
1/2 teaspoon baking soda
1/2 teaspoon salt
1 teaspoon cinnamon
1/4 teaspoon nutmeg
dash ginger
2 eggs (6 tablespoons egg beaters)
1 container light vanilla greek yogurt
1 1/2 cups shredded carrots
1/4 cup crushed pineapple
1/4 cup coconut
1/4 cup chopped walnuts
1/2 cup dried cranberries
1 tablespoon rum (optional)
Cinnamon Cream Cheese frosting
2 ounces light cream cheese (I used greek yogurt cream cheese)
1 tablespoon butter
1 1/2 cups powdered sugar (this is approximate)
1 teaspoon vanilla
1 tablespoon milk
1 teaspoon cinnamon
For the cake:
1.) Soak cranberries in rum. I was a little lax in this, because it was a last minute decision. The longer they soak, the better.
2.)Preheat oven to 350 degrees Fahrenheit and grease a square pan (8x8 or 9x9).
3.) Sift together dry ingredients (through ginger).
4.) In a medium bowl, mix together the eggs and greek yogurt.
5.) Add the carrots, pineapple, coconut, and cranberries to the egg mixture.
6.) Add the dry ingredients, in thirds, to the wet, mixing between the additions. Do not overbeat or your cake will be tough.
7.) Fold in the chopped walnuts.
8.) Pour the batter into the prepared pan and bake until a toothpick inserted in the center comes out clean. For me, it took about 35 minutes, but it depends on the size of your pan and the accuracy of your oven temperature.
Cool the cake completely before icing it.
For the frosting:
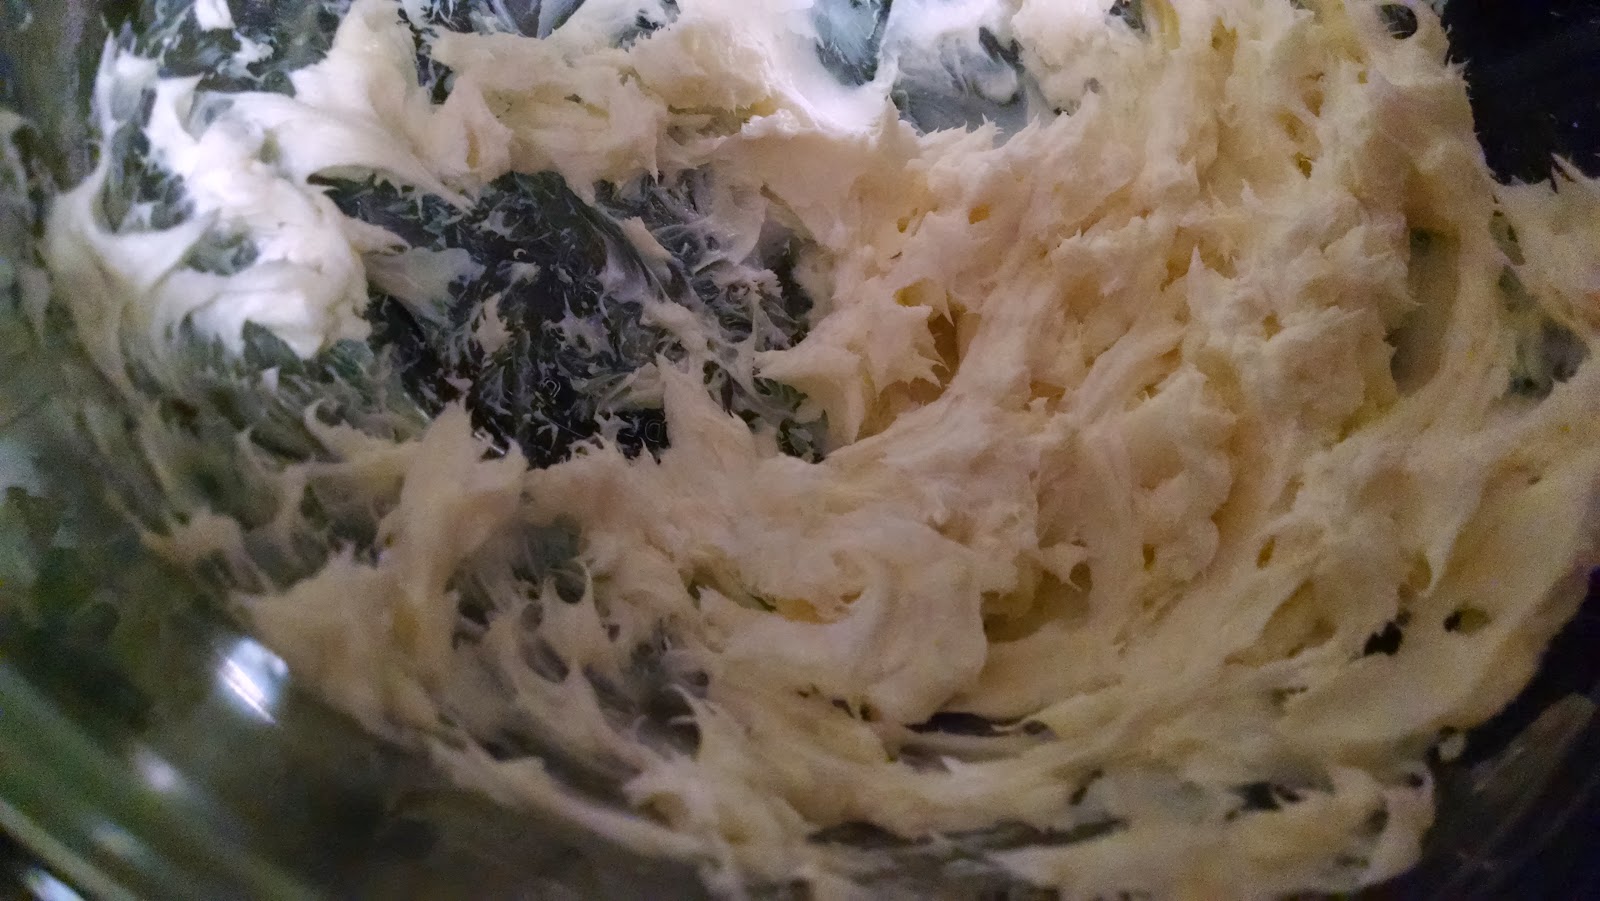
1.) Soften the cream cheese and butter.
2.) Using a handheld mixer, whip them together.
3.) Add the vanilla.
4.) Slowly mix in the powdered sugar and cinnamon.
5.) Drizzle in milk and mix it in.
6.) Adjust with more milk or sugar as necessary for your desired thickness. I wanted a pretty sturdy frosting, so I needed more sugar.
7.) Frost the cake. I kept it in the pan for easy travel, but there was enough frosting for the sides if I wanted a nicer presentation.
8.) Add chopped walnuts to the top of the cake, if desired. It looks nice, and it warns people that there are nuts in it (when you are taking it somewhere you are uncertain about nut allergies).
I had some carrots, so I decided to make a carrot cake. It seems like the perfect spring dessert. However, it is generally horrible for us :-( I tried to make it a LITTLE better.
Carrot Cake
1 cup flour
3/4 cup sugar
1/2 teaspoon baking soda
1/2 teaspoon salt
1 teaspoon cinnamon
1/4 teaspoon nutmeg
dash ginger
2 eggs (6 tablespoons egg beaters)
1 container light vanilla greek yogurt
1 1/2 cups shredded carrots
1/4 cup crushed pineapple
1/4 cup coconut
1/4 cup chopped walnuts
1/2 cup dried cranberries
1 tablespoon rum (optional)
Cinnamon Cream Cheese frosting
2 ounces light cream cheese (I used greek yogurt cream cheese)
1 tablespoon butter
1 1/2 cups powdered sugar (this is approximate)
1 teaspoon vanilla
1 tablespoon milk
1 teaspoon cinnamon
For the cake:
1.) Soak cranberries in rum. I was a little lax in this, because it was a last minute decision. The longer they soak, the better.
2.)Preheat oven to 350 degrees Fahrenheit and grease a square pan (8x8 or 9x9).
3.) Sift together dry ingredients (through ginger).
4.) In a medium bowl, mix together the eggs and greek yogurt.
5.) Add the carrots, pineapple, coconut, and cranberries to the egg mixture.
6.) Add the dry ingredients, in thirds, to the wet, mixing between the additions. Do not overbeat or your cake will be tough.
7.) Fold in the chopped walnuts.
8.) Pour the batter into the prepared pan and bake until a toothpick inserted in the center comes out clean. For me, it took about 35 minutes, but it depends on the size of your pan and the accuracy of your oven temperature.
Cool the cake completely before icing it.
For the frosting:
1.) Soften the cream cheese and butter.
2.) Using a handheld mixer, whip them together.
3.) Add the vanilla.
4.) Slowly mix in the powdered sugar and cinnamon.
5.) Drizzle in milk and mix it in.
6.) Adjust with more milk or sugar as necessary for your desired thickness. I wanted a pretty sturdy frosting, so I needed more sugar.
7.) Frost the cake. I kept it in the pan for easy travel, but there was enough frosting for the sides if I wanted a nicer presentation.
Tuesday, March 31, 2015
Buffalo Cauliflower
I want buffalo chicken all the time. ALL THE TIME. However, I eat meatless at least two days a week. One of my biggest temptations on my meatless days is buffalo wings.
Over the last few months, I've been really interested in these cauliflower recipes I see all over. My roommate and I have tried cauliflower pizza crust. We make cauliflower rice all the time. I decided I needed to try buffalo cauliflower on my meatless but wing obsessed days.
Several recipes that I looked at seemed beautiful. The cauliflower was lightly battered before it was baked and tossed in buffalo sauce. However, I was much to lazy to do that. Instead, I used a recipe that simplified things. Gal on a mission really did that with her Healthy Buffalo Cauliflower Bites. I did some modifications to my recipe though.
Buffalo Cauliflower
1/3 head cauliflower
1/2 teaspoon garlic powder
1/2 teaspoon onion powder
1/4 teaspoon salt
1/4 teaspoon Hot Shot pepper blend
2 tablespoons wing sauce
First, cut about 1/3 of a cauliflower, wash it, and leave it in a strainer to drain.
Next, line a pan with foil and spray it liberally with cooking spray.
Arrange the cauliflower in a single layer on the pan and sprinkle the seasons (minus the wing sauce) on top. This is completely to taste. Adjust as you will.
Bake the cauliflower at approximately 400 degrees Fahrenheit until the florets begin to brown. I used my toaster oven, since this is really a single serving/small batch.
Remove the cauliflower from the pan, and lightly toss in the buffalo sauce.
Return to the pan and bake for another 5-7 minutes.
I ate these with Kraft Buffalo Cheddar mac and cheese. I wanted all the buffalo.
Over the last few months, I've been really interested in these cauliflower recipes I see all over. My roommate and I have tried cauliflower pizza crust. We make cauliflower rice all the time. I decided I needed to try buffalo cauliflower on my meatless but wing obsessed days.
Several recipes that I looked at seemed beautiful. The cauliflower was lightly battered before it was baked and tossed in buffalo sauce. However, I was much to lazy to do that. Instead, I used a recipe that simplified things. Gal on a mission really did that with her Healthy Buffalo Cauliflower Bites. I did some modifications to my recipe though.
Buffalo Cauliflower
1/3 head cauliflower
1/2 teaspoon garlic powder
1/2 teaspoon onion powder
1/4 teaspoon salt
1/4 teaspoon Hot Shot pepper blend
2 tablespoons wing sauce
First, cut about 1/3 of a cauliflower, wash it, and leave it in a strainer to drain.
Next, line a pan with foil and spray it liberally with cooking spray.
Arrange the cauliflower in a single layer on the pan and sprinkle the seasons (minus the wing sauce) on top. This is completely to taste. Adjust as you will.
Bake the cauliflower at approximately 400 degrees Fahrenheit until the florets begin to brown. I used my toaster oven, since this is really a single serving/small batch.
Remove the cauliflower from the pan, and lightly toss in the buffalo sauce.
Return to the pan and bake for another 5-7 minutes.
I ate these with Kraft Buffalo Cheddar mac and cheese. I wanted all the buffalo.
Monday, March 23, 2015
Goat Cheese and Cherry Sweet Potato
I saw a recipe on Pinterest (because isn't that always how this starts?) for very yummy looking sweet potato. Sweet potatoes with goat cheese, honey, and roasted grapes from the Wicked Noodle. Yummy, right? Then, I somehow had some left over honey goat cheese and I knew what I had to do.
Goat Cheese and Cherry Sweet Potato
1 small or medium sweet potato
1 ounce (approximately) of honey goat cheese
1/2 tablespoon honey
1 tablespoon dried tart cherries
Dash of cinnamon
This was a really simple recipe and it worked great on my meatless day with the Quorn goat cheese and cranberry chick'n cutlet.
Bake the sweet potato at 375 degrees Fahrenheit until soft. The time this takes depends greatly on the size and shape of your potato.
Cut the potato open and sprinkle it with honey and cinnamon. These amounts are negotiable. They are really both to taste. You can also put some butter on at this point, but it seems unnecessary with the goat cheese. Work the honey and cinnamon into the potato with a fork.
Crumble the goat cheese on top and return to the oven until the cheese melts (ish...goat cheese holds it shape well, but it gets warm. That is what you are looking for.)
Take the potato out of the oven and add the cherries.
Serve and enjoy :-)
Goat Cheese and Cherry Sweet Potato
1 small or medium sweet potato
1 ounce (approximately) of honey goat cheese
1/2 tablespoon honey
1 tablespoon dried tart cherries
Dash of cinnamon
This was a really simple recipe and it worked great on my meatless day with the Quorn goat cheese and cranberry chick'n cutlet.
Bake the sweet potato at 375 degrees Fahrenheit until soft. The time this takes depends greatly on the size and shape of your potato.
Cut the potato open and sprinkle it with honey and cinnamon. These amounts are negotiable. They are really both to taste. You can also put some butter on at this point, but it seems unnecessary with the goat cheese. Work the honey and cinnamon into the potato with a fork.
Crumble the goat cheese on top and return to the oven until the cheese melts (ish...goat cheese holds it shape well, but it gets warm. That is what you are looking for.)
Take the potato out of the oven and add the cherries.
Serve and enjoy :-)
Monday, March 16, 2015
Erin's Berry Trail Mix
My dissertation director gave me a giant jar of almonds and an almost two pound bag of dried blueberries. It made me super happy, but now I have a giant jar of almonds and an almost two pound bag of dried blueberries.
I was super excited, but I didn't quite know what to do with them. I decided to make trail mix for the road (that didn't last that long).
Erin's Berry Trail Mix
1 cup dry roasted, unsalted almonds
1/3 cup dried blueberries
1/3 cup dried tart cherries
1/3 cup dried cranberries
1/3 cup white chocolate chips
This is a super simple recipe. I just tossed everything in a tupperware container and shook it up. However, I did not pay attention to what size of container I used. Don't make my mistake. You need room to shake it up.
Almonds in the bottom of a container.
All the fruit goes on top.
Then the white chocolate chocolate chips go on top of that. As you can see, this is full to the very top. The lid fit, but it had no room to shake the ingredients together.
New, improved, bigger container.
I ate all of this in two days. I had very little help. Since it was so good, I made more for friends to take on their road trip.
Obviously there are issues with this (dried fruit and almonds= tons of calories, dried fruit and white chocolate chips=tons of sugar). However, I think it is better than cookies and candy bars. Probably. It certainly tastes very good :-)
I was super excited, but I didn't quite know what to do with them. I decided to make trail mix for the road (that didn't last that long).
Erin's Berry Trail Mix
1 cup dry roasted, unsalted almonds
1/3 cup dried blueberries
1/3 cup dried tart cherries
1/3 cup dried cranberries
1/3 cup white chocolate chips
This is a super simple recipe. I just tossed everything in a tupperware container and shook it up. However, I did not pay attention to what size of container I used. Don't make my mistake. You need room to shake it up.
Almonds in the bottom of a container.
All the fruit goes on top.
Then the white chocolate chocolate chips go on top of that. As you can see, this is full to the very top. The lid fit, but it had no room to shake the ingredients together.
New, improved, bigger container.
I ate all of this in two days. I had very little help. Since it was so good, I made more for friends to take on their road trip.
Obviously there are issues with this (dried fruit and almonds= tons of calories, dried fruit and white chocolate chips=tons of sugar). However, I think it is better than cookies and candy bars. Probably. It certainly tastes very good :-)
Monday, March 9, 2015
Turkey Taco Rice
I've been eating way too much junk food lately, and a lot of high fat foods, including a lot of beef. For my Texan friends, eating all beef is not a problem at all, but I try to avoid it as the daughter of a man with heart disease. I'd like to avoid that, thanks. I needed to do something to try to control my bad habits, so I bought some ground turkey (extra lean!).
When I brought it home, I had no idea what to do with it. I thought about turkey burgers, but I wasn't in the mood. I considered tacos, but I didn't really feel like it (messy). Then, inspiration hit. Taco Rice. I'd bought the taco rice packet and eaten it on a meatless day a couple of weeks ago. I wasn't particularly impressed. I could do better, I was sure. And I did!
Turkey Taco Rice for One
1/4 pound extra lean ground turkey
1/2 cup vegetable stock (reduced sodium if you can swing it)
1/3 can fire roasted tomatoes
1/3 packet reduced sodium taco seasoning (or your own seasoning mix)
1/2 cup minute brown rice
1/3 cup fire roasted corn (I bought a mix with black beans and peppers in it)
2 tablespoons reduced
The construction is super easy.
1.) Brown the ground turkey.
2.) Add the stock, tomatoes, and taco seasoning.
3.) Bring to a boil. My pan was super hot (stupid electric stove!), so the stock pretty much boiled when it hit the pan.
3.) Add the rice. Cover. I added water here because my stock pretty much boiled off.
4.) Halfway through the cooking time (7 minutes for my rice), add the frozen corn.
5.) After the rice is done, sprinkle the cheese on top. You can also add cilantro and sour cream here, if you'd like. I added Tony Packo's Sweet Hot Jalapenos (the best thing ever invented, I am pretty sure).
6.) Enjoy!
It was so much better than the packaged stuff and it was so filling. The beans in the corn mix helped, I'm sure.
When I brought it home, I had no idea what to do with it. I thought about turkey burgers, but I wasn't in the mood. I considered tacos, but I didn't really feel like it (messy). Then, inspiration hit. Taco Rice. I'd bought the taco rice packet and eaten it on a meatless day a couple of weeks ago. I wasn't particularly impressed. I could do better, I was sure. And I did!
Turkey Taco Rice for One
1/4 pound extra lean ground turkey
1/2 cup vegetable stock (reduced sodium if you can swing it)
1/3 can fire roasted tomatoes
1/3 packet reduced sodium taco seasoning (or your own seasoning mix)
1/2 cup minute brown rice
1/3 cup fire roasted corn (I bought a mix with black beans and peppers in it)
2 tablespoons reduced
The construction is super easy.
1.) Brown the ground turkey.
3.) Bring to a boil. My pan was super hot (stupid electric stove!), so the stock pretty much boiled when it hit the pan.
3.) Add the rice. Cover. I added water here because my stock pretty much boiled off.
4.) Halfway through the cooking time (7 minutes for my rice), add the frozen corn.
5.) After the rice is done, sprinkle the cheese on top. You can also add cilantro and sour cream here, if you'd like. I added Tony Packo's Sweet Hot Jalapenos (the best thing ever invented, I am pretty sure).
6.) Enjoy!
It was so much better than the packaged stuff and it was so filling. The beans in the corn mix helped, I'm sure.
Sunday, March 1, 2015
Because sometimes you need spaghetti and meatballs
Sometimes you need spaghetti and meatballs. You just really do. It is a very rare occasion for me, but it happens. I actually can't remember the last time I had spaghetti and meatballs. I usually use turkey Italian sausage or eat spaghetti on a meatless day so it must be without meat. However, today I wanted meatballs.
Luckily, when I made burgers for my birthday, ground beef was on sale (yay! savings!), so I bought two pounds, used 1/2 a pound and froze the rest. I might not have had meatballs in the freezer, but I could make them easily enough.
Really, all I did for this was make the meatballs. The rest was store bought. I used spinach pasta from Whole Foods (so good) and Classico Sweet Basil Marinara sauce. I love all the Classico products. I use their pesto and their pizza sauce as well.
Cheesy Meatballs
1/4 pound 93/7 ground beef
1 tablespoon breadcrumbs or crushed crackers
Garlic powder
Italian seasoning
1/2 tablespoon egg beaters
1/2+ tablespoon milk
1 tablespoon cheese
Step one is pretty easy. Throw the meat (thawed) into a bowl. Put the breadcrumbs or crushed crackers and seasoning on top. I went a little crazy with the garlic and Italian seasoning because I was using cracker crumbs and not seasoned bread crumbs. Season it to taste.
Mix all of that together by hand. Sorry folks, but it really needs to be by hand. Then add the egg beaters and milk. Mix it again to see the texture because you may need a bit more milk. You want it moist so it will form a ball. Then add the cheese and mix again. BY HAND.
Roll them into balls. I like little mini meatballs, mainly because they cook faster, but also because they are cute. Mini=cute. You know it does.
While these are sitting, I put my water on to make my pasta.
Then I fried the meatballs in a pan. I like them to have a nice crust on them.
I fried them on as many sides as I could. Crust. You can see that they have a little pink in them still. That is fine, because you are going to boil them in your sauce anyway.
I added my jarred sauce and water. If I had any red wine, I would have added that instead. However, since I knew I was going to be boiling this for a while, I knew I needed extra moisture or I would have no sauce left.
I also put a lid on the pan so that the meatballs would steam a bit. The difficult part here is to know when the meatballs are done. I wasn't very even with the meatball size, so I ended up pulling the largest couple first and cutting them in half. You have to take them out of the pan or they just fall into the sauce again. It took about 15ish minutes. Of course, it depends on the size of the meatballs. you can also bake these in the sauce, but that will take a long time and I have no patience at all.
I served it topped with more of the six cheese blend that I had put in the meatballs. It was a good cold weather comfort food meal :-)
Luckily, when I made burgers for my birthday, ground beef was on sale (yay! savings!), so I bought two pounds, used 1/2 a pound and froze the rest. I might not have had meatballs in the freezer, but I could make them easily enough.
Really, all I did for this was make the meatballs. The rest was store bought. I used spinach pasta from Whole Foods (so good) and Classico Sweet Basil Marinara sauce. I love all the Classico products. I use their pesto and their pizza sauce as well.
Cheesy Meatballs
1/4 pound 93/7 ground beef
1 tablespoon breadcrumbs or crushed crackers
Garlic powder
Italian seasoning
1/2 tablespoon egg beaters
1/2+ tablespoon milk
1 tablespoon cheese
Step one is pretty easy. Throw the meat (thawed) into a bowl. Put the breadcrumbs or crushed crackers and seasoning on top. I went a little crazy with the garlic and Italian seasoning because I was using cracker crumbs and not seasoned bread crumbs. Season it to taste.
Mix all of that together by hand. Sorry folks, but it really needs to be by hand. Then add the egg beaters and milk. Mix it again to see the texture because you may need a bit more milk. You want it moist so it will form a ball. Then add the cheese and mix again. BY HAND.
Roll them into balls. I like little mini meatballs, mainly because they cook faster, but also because they are cute. Mini=cute. You know it does.
While these are sitting, I put my water on to make my pasta.
Then I fried the meatballs in a pan. I like them to have a nice crust on them.
I fried them on as many sides as I could. Crust. You can see that they have a little pink in them still. That is fine, because you are going to boil them in your sauce anyway.
I added my jarred sauce and water. If I had any red wine, I would have added that instead. However, since I knew I was going to be boiling this for a while, I knew I needed extra moisture or I would have no sauce left.
I also put a lid on the pan so that the meatballs would steam a bit. The difficult part here is to know when the meatballs are done. I wasn't very even with the meatball size, so I ended up pulling the largest couple first and cutting them in half. You have to take them out of the pan or they just fall into the sauce again. It took about 15ish minutes. Of course, it depends on the size of the meatballs. you can also bake these in the sauce, but that will take a long time and I have no patience at all.
I served it topped with more of the six cheese blend that I had put in the meatballs. It was a good cold weather comfort food meal :-)
Subscribe to:
Posts (Atom)