Friday, May 23, 2014

Excuse the break

Last week was a little crazy between finals and grading and THATCamp.  I never got around to really making something worthy of a blog post.  Then, I didn't really eat any non-chain/life-changing food to replace my own post.  I almost did a birthday ninja post, but I will save that for another date.

Along with the busy-ness that made me not post on the blog last week, I ate like a crazy person.  I was very disappointed in myself, especially since I didn't even walk Remy (he was at the PetHotel) for exercise.  So part of my plan for this week (and looking forward) is to be back on track with healthier foods and fewer snacks.  Does that mean I am not splurging at all?  No.  However, I am being more thoughtful about what I spend my calories on. 

In order to make up for the lack of posts, I will now post TWO in a row.  Today I am posting a turkey burger recipe that I make (in different versions) all the time.

The great thing about this recipe is that I can vary the meat and the add ins.  Sometimes I make green chili burgers and use bread crumbs or panko.  Sometimes I use beef (my mom calls them Sy's burgers after my grandfather).  I've used different flavors of Cheez-its.  These are easy, fast, and I never feel guilty about them.

Spicy Turkey Burgers

4ish ounces ground turkey
1 Tablespoon crushed spicy cheez-its
1 teaspoon egg beaters
1 1/2 teaspoons milk
1/4 teaspoon dried onions
a dash ground chipotle
a dash spicy Mrs. Dash

Mix all the ingredients together.


You may want to use your hands for it.  With burgers and meatloaf, you just have to use your hands to get it mixed together.


Form into  a patty.  If it is not holding together that well, you may need to add more cheez-its.


Fry until cooked through.  I don't trust any ground meat to be undercooked, so I cook it until it is super super done.


I added a slice of reduced fat colby jack and served it on a multigrain thin with lettuce and tomato.  For a side, I made a salad with light ranch dressing.


These burgers don't really shrink that much (depending on the fat content and brand of ground turkey you use), so I obviously did a great job of forming the patty to the size of the bun.  Oh well.  :-) 

Friday, May 9, 2014

Pistachios, anyone?

Several weeks ago, a professor shared some pistachio brittle with us in the DH.  It was lovely.  I could have eaten the whole bag all by myself....but I didn't. I am not that rude.  However, I did stop by the store to see if I could get a bag for myself.  I won't repeat what I said when I saw the price. 

I have never been a candy maker, but I was sure I could make some pistachio brittle that was equally tasty and much cheaper than the store bought kind.  However, I was not ready--read as too lazy-- to buy a candy thermometer, so I had to find a base recipe that didn't require one.  I used this one, from the Brown Eyed Baker, as a base.  I cut it in half as I only had a cup of pistachios and

Pistachio Brittle

1 cup sugar
1/2 cup water
1/4 cup light corn syrup
1/4 teaspoon salt
1 tablespoon butter
1/4 teaspoon vanilla
1/2 teaspoon cinnamon
1/4 teaspoon baking soda
1 cup pistachios

Line a sheet pan (if you care about its finish) with parchment and spray it with cooking spray.  I was being lazy (once again--it is a very real problem for me), so I didn't go buy parchment.  I used waxed paper.  Also, I didn't want to use my spray, because I was making it to share and it was made with soy (and one of the DH group has food and gluten allergies). I used butter.  Between the two my brittle stuck and we ended up eating a little paper.

Add the sugar, water, corn syrup, and salt to a sauce pan.  Bring the mixture to a boil and cook until the syrup becomes a golden brown color.  This may take about 25 minutes.  It is important to watch the mixture fairly closely, especially when it begins changing color. 


Once it reaches the correct color, take it off the heat and add the rest of the ingredients.  I saved the baking soda for last.  Stir it quickly, then spread it on the prepared baking sheet.


This goes quickly, but no worries if it is not even.  You are breaking it into pieces anyway! Let it cool before you try to break it.  This can take about 15 minutes.


Store it in an airtight container.


I just wish that I had saved some for myself!

In the future, I think I am going to try it with cranberries.  I may also try a peanut brittle with chipotle. 

Maybe the future is now?

Saturday, May 3, 2014

Can we try that again?

This has been the week of recipes not going the way I had hoped.  First, I tried a southwestern quinoa burger with the leftover quinoa from my recipe from last week.  It was pretty good, but I wasn't very precise about ingredients (it was more of a throw-things-in-a-bowl-and-hope-it-works-out recipe), and I didn't take any pictures.  Then, I made brown rice pudding.  It was undercooked and really dry.  It tasted good, but it wasn't quite what it was supposed to be. 

I really wish I had taken pictures of the steel cut oat bars I made on Sunday!  They were a hit.

I'm going for easy now.  Instead of those recipes, I am sharing my mini cheesy corn muffins.  They aren't exactly the most difficult recipe ever, or the most creative, but they are comfort food for me.  My sister and I used to make these (minus the chipotle and sometimes plus bacon) for lunch during the summer when we were kids.  What better time for comfort food than the eve of finals week?

Mini Cheesy Corn Muffins

1 package (6 muffin) corn muffin mix (such as Jiffy)
+the ingredients for making the muffin mix
          1/3 cup egg beaters
          1/3 cup light almond milk
             2 tablespoons vegetable oil
1/4 cup shredded cheese (taco blend is best)
1 teaspoon cajun seasoning
1/4 teaspoon chipotle powder

shredded cheese and cajun seasoning for topping

First, preheat the oven according to the package directions.  Spray a mini muffin tin.

Mix the wet ingredients (egg beaters, milk, oil for me) into the mix.


Add the cajun seasoning and the shredded cheese.


Fill the muffin cups.

Top with more cheese and cajun seasoning.


Bake until a toothpick comes out clean.  Mine took less than 10 minutes.


I took these to a potluck party and they were very popular.  I took all twenty four (Okay, twenty three.  I ate one.) and brought about six home. Then I ate two more.

Friday, April 25, 2014

Quinoa Berry Spinach Salad with Goat Cheese

Parties are always a bit complicated.  There is so much junk food available and it is hard to control myself sometimes (all the time).  We had a little DHL party this week, and one of us has some food allergies.  I wanted to make sure that she had something to eat, but I also wanted something a bit healthier for myself (although I completely failed in my plan to eat one cupcake and some salad). 

My sister made a lovely wheat berry salad a few years ago and I wanted to recreate that. It was springy and lovely.  Of course, I couldn't just find her recipe and make it, because wheat berries are NOT gluten free.  So what I did was use it as an inspiration for this salad.

Quinoa Berry Spinach Salad with Goat Cheese

1/4 cup quinoa, cooked
1 1/2 cups spinach
1/2 cup chopped strawberries
1/2 cup blackberries
1 1/2 oz goat cheese

Lemon Vinaigrette
2 tablespoons lemon juice
1 tablespoon extra virgin olive oil
1 teaspoon agave nectar
salt and pepper to taste
World Market Mediterranean Seasonings

Cook the quinoa according to the package instructions.   I used water and cooked the 1/2 cup recommended amount, but only used half of it for the salad.


While the quinoa is cooking, wash the berries and chop the strawberries.  You can use other berries.  I just found strawberries and blackberries that looked good in the store.  Add them to the spinach in a bowl.  I used the bowl I intended to serve it in, because I am a bit lazy.


Once the quinoa has cooled a little, add it on top of the berries and spinach. 


Break up the goat cheese a little and add it as well. I used honey goat cheese, although I had hoped to find cranberry or blueberry goat cheese.  We have limited resources out here in the LBK.


Make the vinaigrette by adding all of the ingredients to a canning jar.  Shake it up and add it on top of the salad, then mix it to combine.  (My apologies, but I got too excited about the vinaigrette and I ended up not taking a picture of it.)


I would like to say that it was a great hit, but it wasn't so much.  Junk food wins again.  However, I only had a small cup leftover and I did quite enjoy it, if I do say so myself.  I think I like it better with the wheat berries.  Now if I can just think of what to do with the leftover cooked quinoa!


Thursday, April 17, 2014

Spinach Artichoke Alfredo

Sometimes, I am really lazy.  I want good food, but I don't have the energy to make anything complicated and I don't have the energy to go out to get something.  What do I do?  I make something simple.

Lately, I have been seeing/craving a lot of spinach and artichoke stuff.  Dip.  Pizza.  Sandwiches.  Appetizers.

Pasta.

In light of the incredible desire to have some some spinach artichoke pasta, I made this.  And it was so good.

Spinach Artichoke Alfredo

1 cup cooked pasta
1/4 cup frozen spinach
1/4 + 2 tbls light alfredo sauce
2 grilled artichoke heart halves
2 tbls  shredded pizza cheese
fresh ground pepper

Cook your pasta to your desired doneness.  I let it stop a little before I normally would so that it could cook a bit in the sauce without it getting mushy.  Mushy pasta is gross.


Add the frozen spinach to the strainer and drain the pasta over the top of it.


Put the pasta and spinach back in pan (See?  Easy.  One pot.).  A little water will be helpful there, so if it isn't completely drained, that is not a problem.


Add the light alfredo sauce and mix it together.  Top with chopped artichoke hearts.  I was too lazy to do that, so I tore them a bit.


Add cheese and fresh ground pepper.


Serve and enjoy!


I used some lovely heart shaped pasta left over from Valentine's Day.  I love World Market.  I also used Classico Light Alfredo sauce.  Classico is my go to sauce.  Of course, you could make your own, but that would defeat the purpose of the easy prep!  However, truthfully, alfredo isn't that complicated.  I was just too lazy.  And I had the Classico in the cupboard.  Why not?

Forgive me.  It has been a long week/month/semester.

Friday, April 11, 2014

Strawberry Rhubarb Jam

Spring and summer is all about strawberry everything.  I love strawberries; I really do.  However, one thing is even better than strawberries.  Strawberries with rhubarb.  Sadly, rhubarb is not easily found in Lubbock.  However, I found some last year, made a bunch of strawberry rhubarb stuff (including a mini pie and baked oatmeal), then froze some. 

As the temperatures go up above 80 degrees (miserable, I know), I decided it was time to celebrate with some rhubarb in my strawberry.

I had some frozen strawberries and the frozen rhubarb.  Frozen strawberries limits what you can make, but when I saw the english muffins on sale, I knew jam was the way to go.

Strawberry Rhubarb Jam

1 cup whole frozen strawberries
2 tablespoons frozen rhubarb
2 tablespoons sugar
1 teaspoon lemon juice

Let strawberries and rhubarb thaw a little in a pan.  You can also thaw it overnight in the refrigerator, but I never think ahead that far.


Add sugar and lemon juice.


Boil on medium/medium low until thickened.  Stir frequently to avoid burning.


Let cool and put in a canning jar or other container.  I don't actually can my tiny batches of jam, because it is more trouble than it is worth (and because they don't last long enough to can them--this batch lasted less than a day when I took it to the Writing Center with Sticky Fingers Strawberry Scones). 

I also tried this recipe with fresh strawberries and rhubarb (I used more strawberries and chopped them more and I used more sugar because they were not as sweet as the frozen ones). 

I would post a picture of this lovely jam on an english muffin, but I didn't get to use it for one!  It was all gone within hours of me making it.  I don't mind though!  It just meant  I needed to make it again.  I will have a whole batch to myself.

Friday, April 4, 2014

Strawberry Cream Cheese Muffins

Many years ago, in a time when computers read a device called a "floppy disk,"  I typed out a bunch of recipes from a book the title of which I cannot remember.  I made some of these recipes, and they were good.   Two were very good.  An oatmeal fruit bread that has become a Christmas Eve tradition and strawberry cream cheese muffins using frozen strawberries.

Of course, I did not think of the fact that once my parents replaced their old desktop computer, none of us would have a floppy disk drive anymore.  So the Strawberry Cream Cheese Muffin recipe has been lost.  I had some frozen strawberries though, and all I could think of doing with them was making these muffins.  I decided to try to recreate it myself. 

I started with a standard muffin recipe and added nutmeg--which I remember being an important part of the flavor.  I added some vanilla yogurt, too, because I like the flavor and the lessened fat.

The base recipe I used was from the Better Homes and Gardens Cookbook.  Here are my alterations:

Strawberry Cream Cheese Muffins

1 3/4 cups all-purpose flour
1/3 cup sugar
2 teaspoons baking powder
1/4 teaspoon salt
1/2 teaspoon nutmeg (less if using freshly ground)
1 egg, beaten
3/4 cup milk (I used light original soy)
2 tablespoons cooking oil
2 tablespoons vanilla greek yogurt (I used Yoplait 100 calorie vanilla)
1/2 teaspoon vanilla extract
12 frozen whole strawberries
4 oz reduced fat cream cheese

Preheat oven to 400 degrees F.  Grease or line twelve muffin tins. 

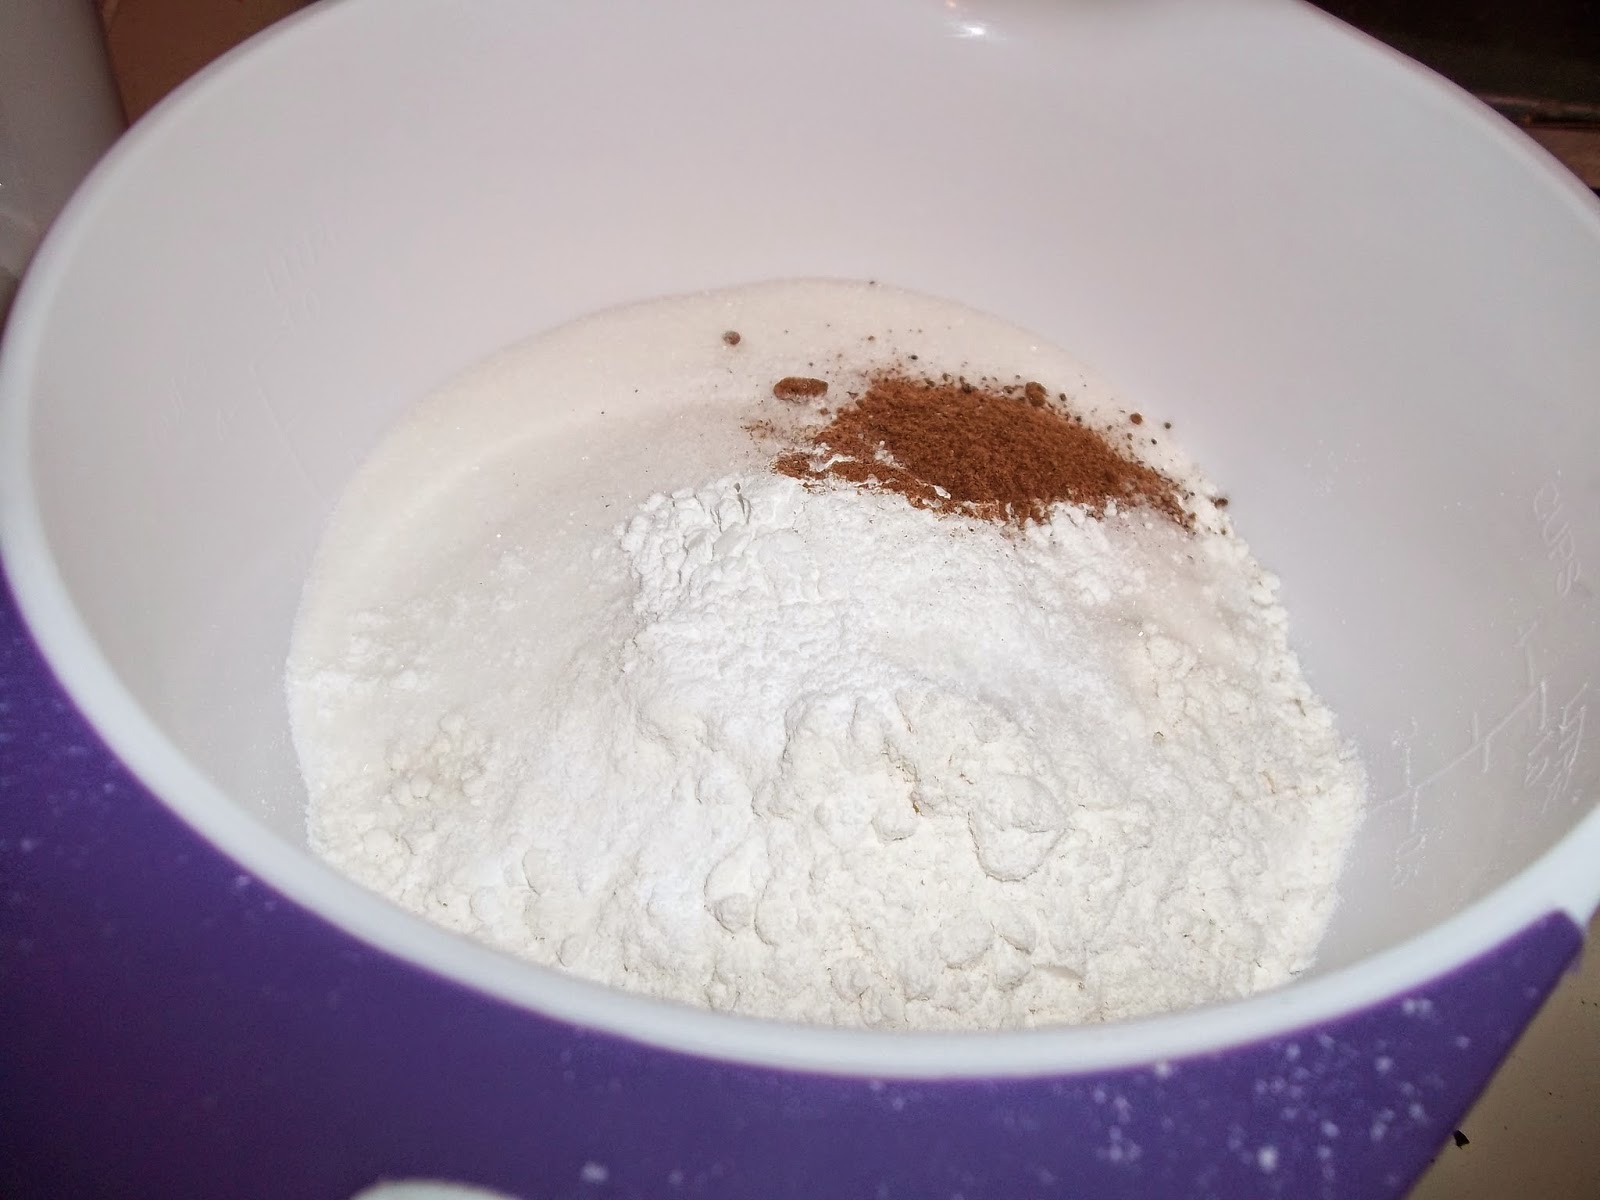
In a medium bowl, mix together the dry ingredients.


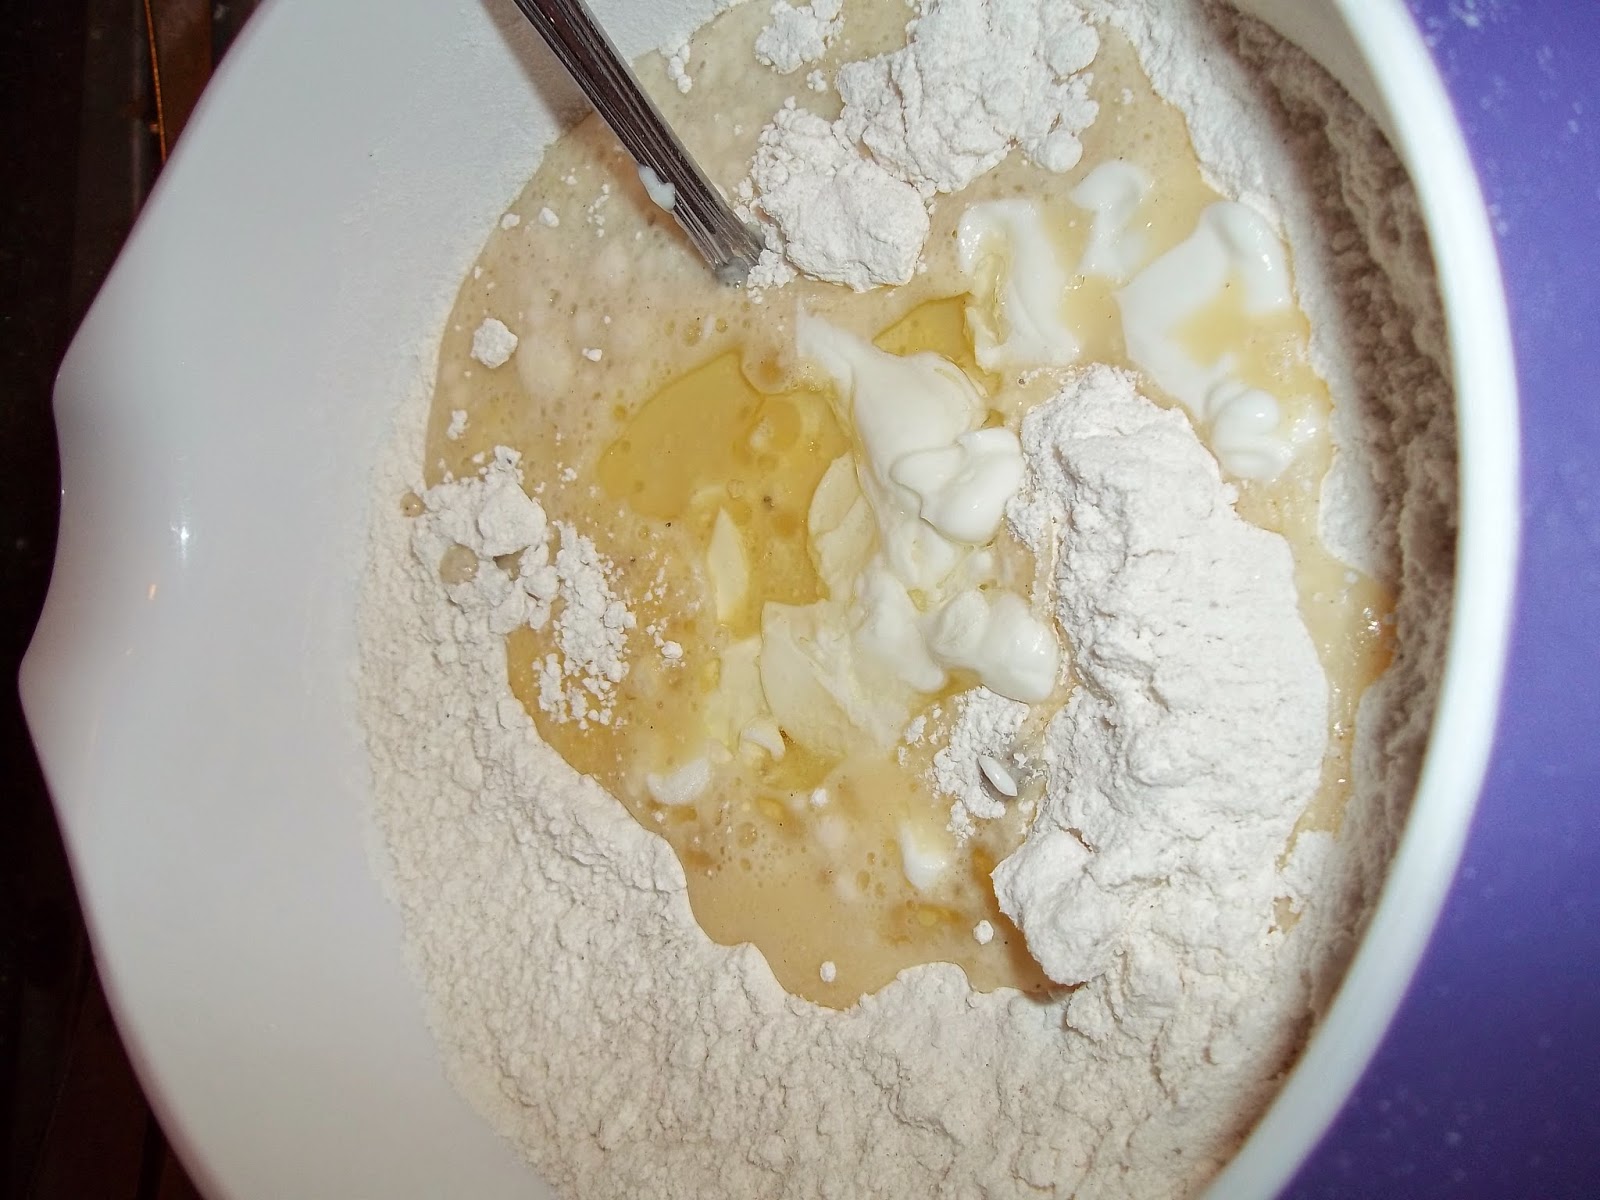
In a separate bowl, mix together the egg, milk, cooking oil, yogurt, and vanilla. 

Add the wet ingredients to the dry, mixing until just combined.  If you overmix, the muffins will be tough.


Fill the muffin tins about 1/3 of the way.  I just dolloped a bit in the bottom. 


Add a frozen strawberry, top down, to each tin.


Mine were obviously a little freezer burned, but everything in my freezer is a little freezer burned.  It didn't change the taste.  However, smaller strawberries are better.  If they are too big (as mine were), they don't get covered up as well when they bake and the cream cheese falls over.

Cover with the remaining batter.


They don't have to be perfect.  When they bake, it will even out a little. 


Top with a slice of cream cheese.


Bake about 20 minutes, or until browned. 


The cream cheese shifted as they baked, so they aren't as pretty as I remember.  The strawberries showed through as well.  However, they smelled so good when they were baking that I couldn't resist them for long after I took them out of the oven.  I ended up eating one while it was still hot, and I burned the top of my mouth.  It was worth it though.